To stamp a solid design (say a lantern shape),
ink the back side of a clear mount stamp that has a definite shape, then heat
emboss. To enhance it even further, ink the detailed side of the lantern with a darker ink and stamp into the embossing powder while still warm to
create a slightly indented design with a solid mat. This technique can be used with any closely
cut clear stamp. Just think of the back side of the stamp as a bonus image
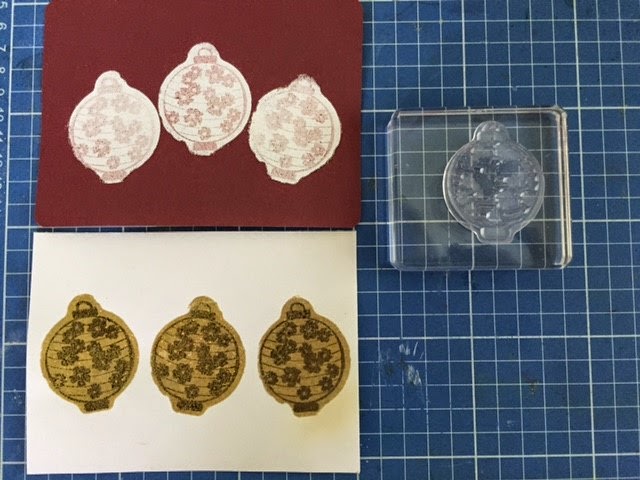
especially if you don’t have many solid image stamps.
I tried with gold embossing powder and black overstamp and white embossing powder and Razzleberry overstamp.
I used the resulting images for a card. I chose the gold and black and fussy cut them out. I added eyelets to the handle part and strung gold chord.
I used black cardstock as the base. Then some washi paper. Then a strip of Chinese red cardstock to highlight the lanterns.
Finished Card